What you need:
- Good clippers (Wahl is a good starter one that you can get at Sally's Beauty for about $50.00) this is the kind I will be using. If you want an investment then 76'ers is the way to go :)
- A comb, ( I like to use a white comb if they have dark hair or a black comb if the have blonde hair) this way you can see the hair really well
- Trimmer for around the ears and neck line (you can get these at Sally's Beauty too) please don't EVER use just the clippers for your edging around the ears and neck, you can cut them soooo easy that way, just invest in a good trimmer and it will make your life much easier in the cutting field :)
- Cape or towel to keep hair off of them (or just a good old garbage bag cut a hole for the head)
- Spray Bottle
- Polmade, gel, Hairspray
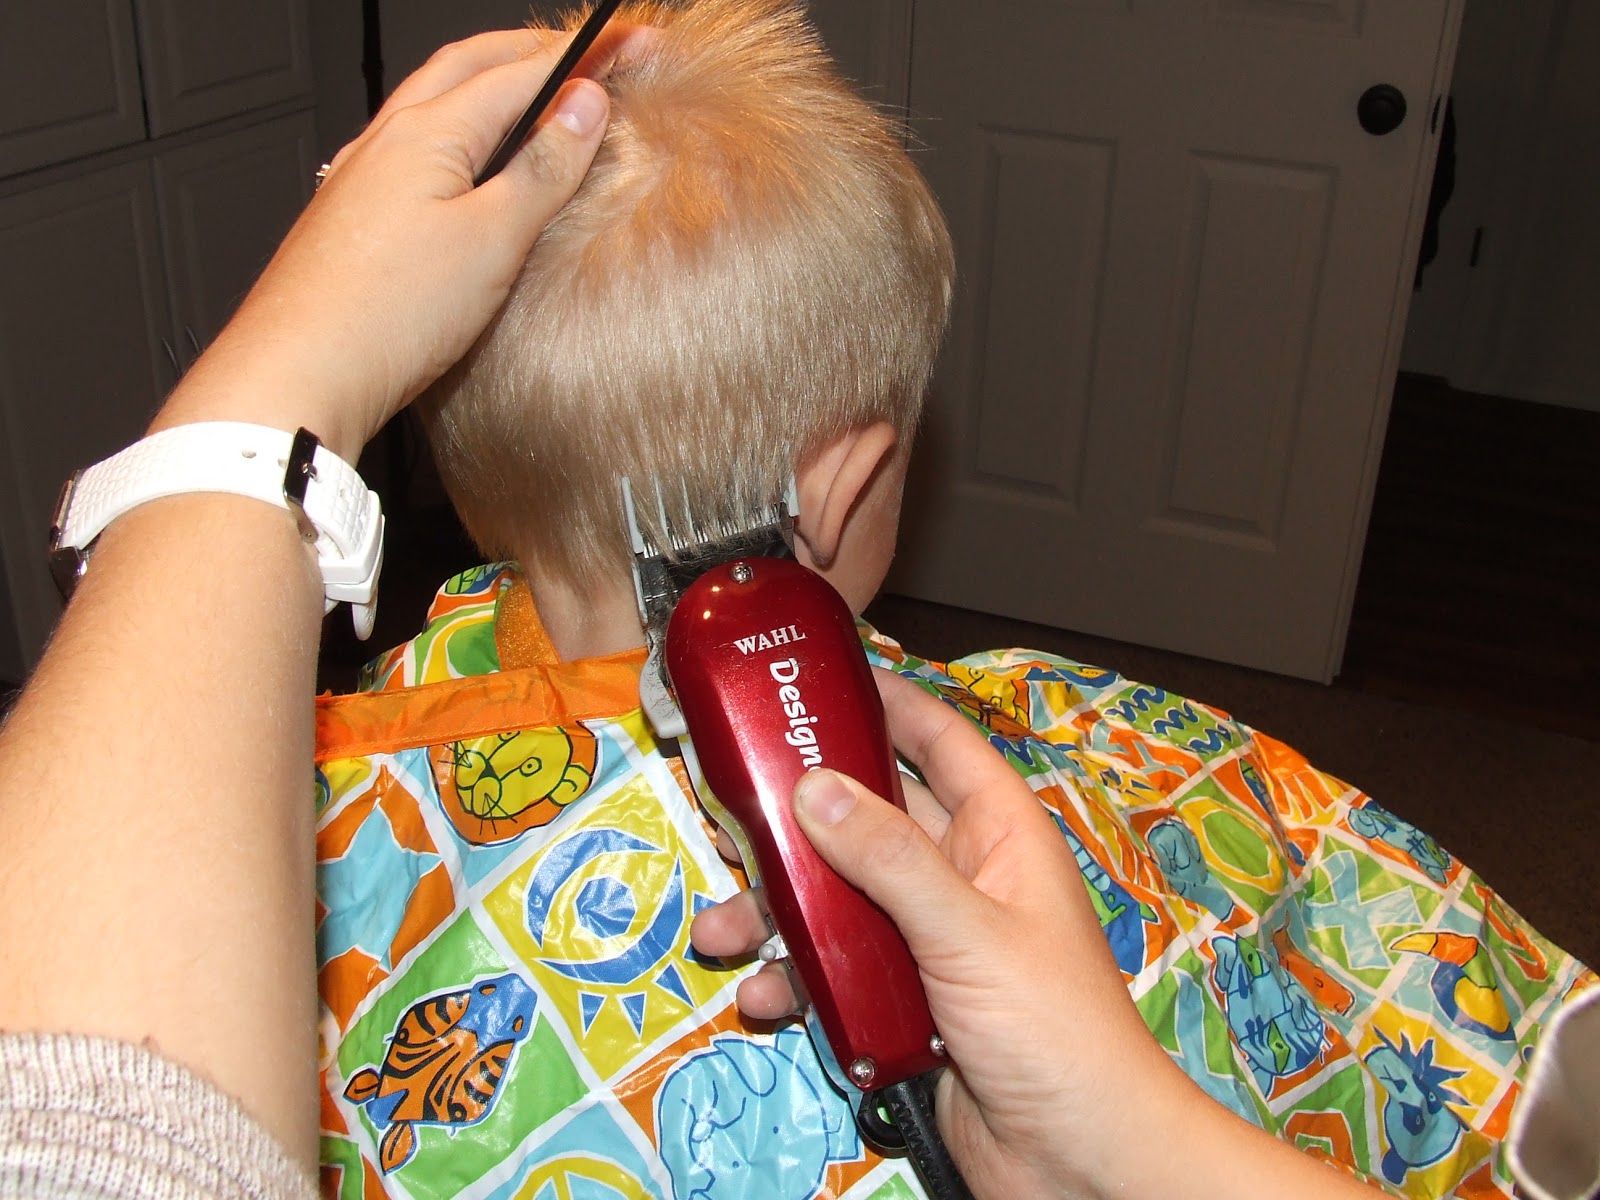

- Next I like to trim all around the ears and neck line. My favorite neck lines are the nice clean square but everyone has a different hair line so you will have to go with the hairline for best results. Move the ear to edge around it so you don't cut it, you can either pull it towards the back or bend it out of the way

pulling it back OR

Bend it forward out of the way

Square it all up in the back
- Next wet the top of the head cut the desired length you want starting in the middle and working outwards to each side.

Spray it all to get wet

Get the length going side to side first and meet all the points together
then go down the middle to connect everything
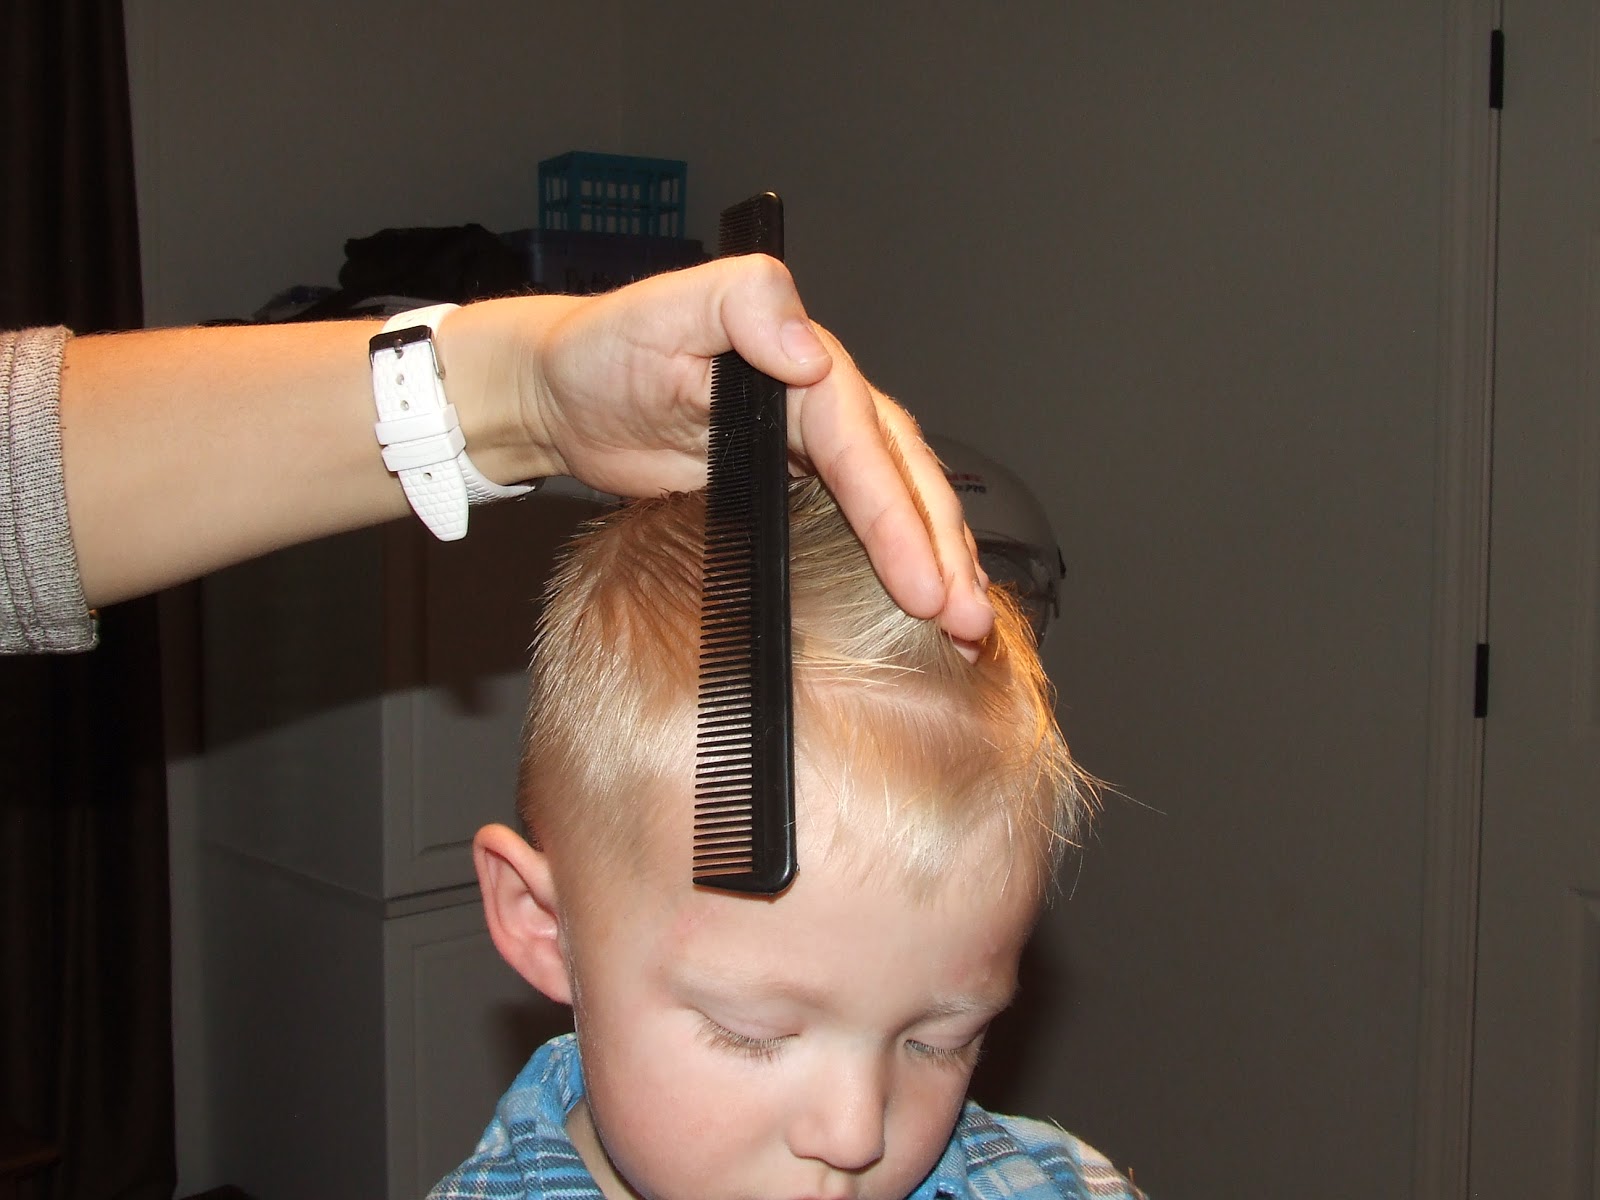
- After you get the top length how you want it you need to blend from the top to the sides. Go around on the sides and hold your hand at a 90 degree angle and you will see the point where you need to cut off to blend from the clipper part to the scissor part (I hope that makes sense) I like to free hand it with my comb but I will show you both ways until you are comfortable free handing the blending :)

This is a free hand with a comb you hold the comb at an angel and connect the points

You can do the same thing with your fingers, use this way until you are comfortable :-)

Nice clean cut

Doing this you will have a nice blend from the length to the sides without a line
Now for the other one. ALMOST all the same steps as above. This will be a Faux Hawk :-)

Use the clippers and work from bottom to top all around the sides and back


get the length you want to cut off the top from the middle first go in a "Mohawk way" down the middle

Cut it and move from back to front and connect it all to the same length


Now once you did the "Mohawk" (down the middle) you need to bring the hair all up horizontal and connect the outer side to the middle where the length is.

Just connect where there is a high point

Now comb the sides all down.....

it will look messy and not blended yet

take from the top length to the sides at a 90 degree angle and connect the point you will see

or again you can free hand it with the comb

now it is all blended from the top to the sides, do that all around :)


TA DA all done, remember practice makes perfect :-) For those of you stopping by for the first time PLEASE, follow my blog as a favor in return for this tutorial, it would be greatly appreciated and if you already are a follower, THANK YOU!!! To be a follower just go on the right hand side of my blog and where it says "Awesome followers" and click join :-)
No comments:
Post a Comment